Zombie (vegan) pumpkin pie: the same recipe as last year, resurrected!
Tuesday, October 28th, 2014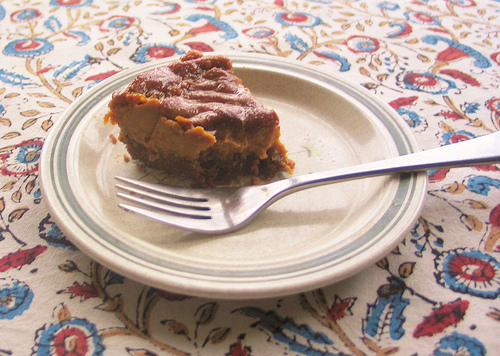
This post already appeared at One Night Stanzas in October 2012 and 2013. But it’s Halloween, so you need a pumpkin pie recipe… and if it’s vegan, EVEN BETTER.
Folks, Halloween is ON FRIDAY, and if you haven’t yet made yourself a pumpkin pie then U R DOIN IT WRONG. Happily, I am here to help you. I stitched together this recipe from bits and pieces of several other recipes I found online but didn’t like 100%. It results in a truly finger-lickin’ pie, even if I do say so myself.
Fiendish all-vegan pumpkin pie
(Serves 8-10.)
Pie crust base:
125g (half a pack) Lotus caramelised biscuits
A quarter of a cup of rapeseed or groundnut oil
A splash of sweetened soy milk
Pumpkin filling:
Half a cup of dark brown sugar
One third of a cup of icing (confectioner’s) sugar
Ground cinnamon
Ground nutmeg
Ground ginger
The zest of one lemon
1 tsp salt
1 tsp baking powder
Half a cup of sweetened soy milk
1 tsp cornflour
1 tbsp rapeseed or groundnut oil
250ml soya cream
1 tin of pumpkin puree
Half a tsp vanilla extract
Pre-heat your oven to 220°C, 425°F, or gas mark 8.
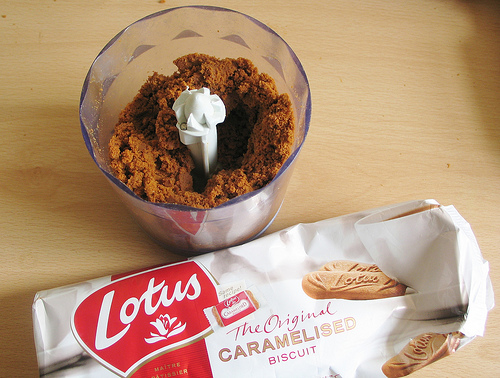
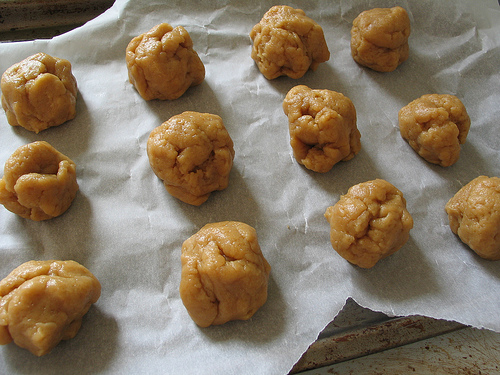
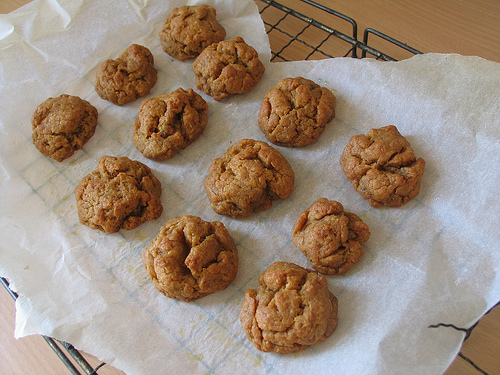
OK, first — the base! Lotus caramelised biscuits are fantastic, because they’re totally vegan and extra super tasty. To make the base, the first thing you need to do is whizz up roughly 125 grams of these biscuits — or roughly half a pack — until they’re broken down into a fine, sandy powder.

Tip the biscuit crumbs into a large bowl and stir in the rapeseed or groundnut oil (personally I prefer groundnut, but if you’re potentially feeding a person with a nut allergy as I often do, it’s good to have an alternative). Add your splash of soy milk and you should end up with a shiny, sticky, but not-too-wet paste. Press this into the bottom of your pie dish to form your crust base, and stick it in the fridge while you create the filling!
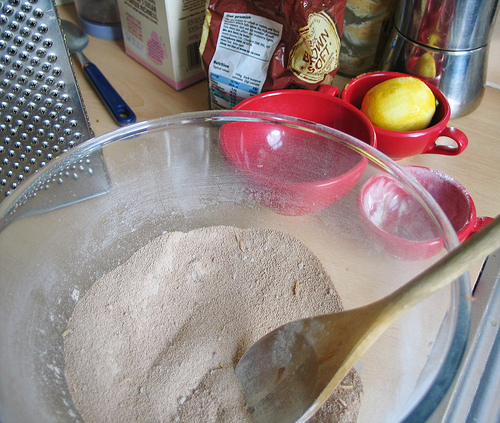
In a large, clean mixing bowl, sieve and mix the brown sugar and icing sugar together, then add ground spices to taste. If you’re unsure, I’d say one teaspoon of cinnamon and one of ginger, and maybe half a teaspoon of nutmeg. But personally I like my pie spicy, so I’d up the cinnamon and nutmeg, personally! Once you’ve sorted your spices, grate in the lemon zest, and add the salt and baking powder. Mix everything thoroughly!

OK, slightly tricky bit now: this pie is vegan, so no eggs allowed. But you can mimic the consistency of eggs! Grab your sweetened soy milk, stick it in a pan and put over a low heat. As the soy milk begins to warm, add to it the teaspoon of cornflour and continue to heat, stirring constantly. As the milk heats, it should thicken up. When it gets to roughly the consistency of beaten egg, remove from heat and pour into the dry mix. Add the tablespoon of oil and mix thoroughly. Once mixed, pour and mix in the soy cream, too.
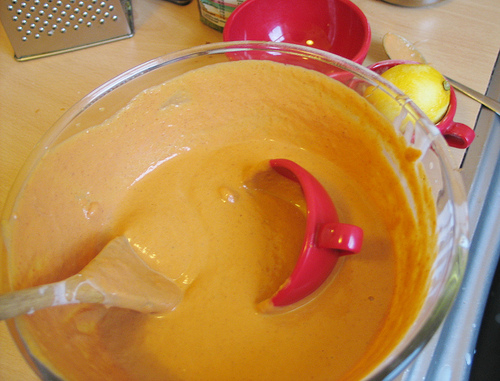
It’s finally time for the essential ingredient — pumpkin! Some recipes insist that you use actual hollowed-out pumpkin, and yes, if you’re hollowing a pumpkin anyway, it’s smart to make use of the flesh for this. But if, like me, you have three hours before your Halloween party starts and you need to get a move on, then reach for the canned stuff! I use Libby’s myself as it’s relatively easy to get hold of. Pour the can of pumpkin into the mix and add the dash of vanilla. Mix, mix, mix — once you have a thick, gloopy batter, your filling is done!
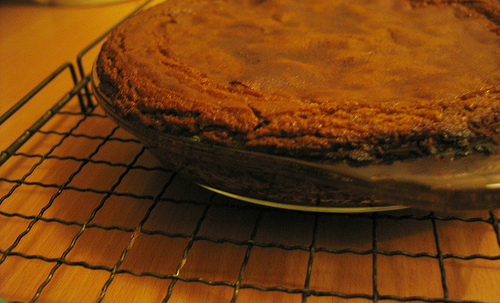
To bake, pour the pumpkin batter over your refrigerated base and place in the top half of the oven at 220°C for fifteen minutes. Once that time has passed, and without opening the oven (however tempting!), turn the temperature down to 180°C and bake for another 50-60 minutes.
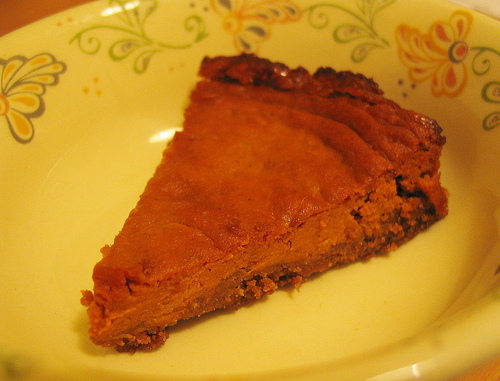
Your pie should come out looking only ever-so-slightly wibbly, and golden brown right across the top. It should be allowed to refrigerate for several hours — ideally overnight — to firm up. Then you can carve up and dig in!
Happy Halloween!
*
Budding writer? Creative person in need of a fun job? Check out the various resources and services at Bookworm Tutors. Alternatively, check out Edinburgh Vintage, a totally unrelated ’sister site’ full of jewels, treasures and trinkets. If you want to get in touch you can follow OneNightStanzas on Twitter, or email claire[at]onenightstanzas.com. I reply as swiftly as I can!